If you get your shelter and sleep system right, everything else about a camping trip becomes easier. You wake up rested, warm, and dry — and the day ahead feels like an adventure rather than an ordeal.
If you get it wrong, no amount of good food, great scenery, or perfect weather will save you. A night spent cold, cramped, or wet inside a failing tent is the reason most people quit camping after one or two trips. The gear you sleep in and under is not where you cut corners.
Table of Contents
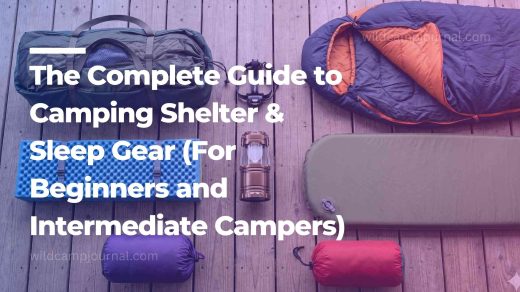
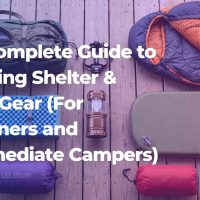
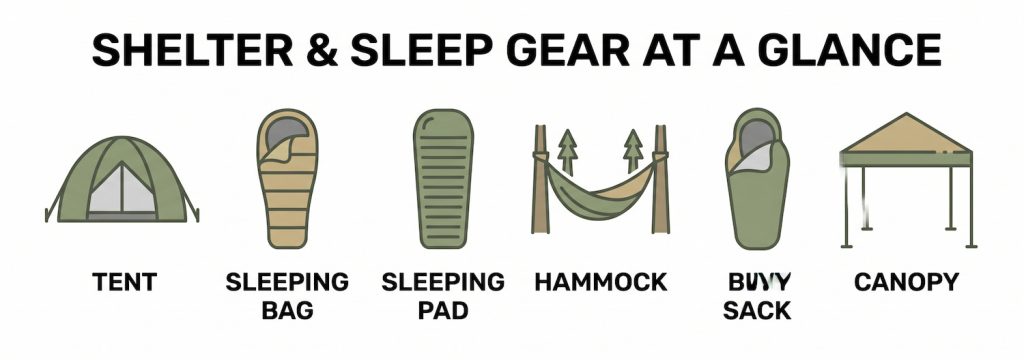
This guide covers everything that falls under the shelter and sleep category — tents, tarps, sleeping bags, sleeping pads, hammocks, bivy sacks, and shade solutions. Whether you are planning your first overnight or you have a few trips under your belt and want to upgrade your setup, this page will point you in the right direction and link you to deeper guides on each topic.
Let’s start with the foundation of every camping setup: the tent.
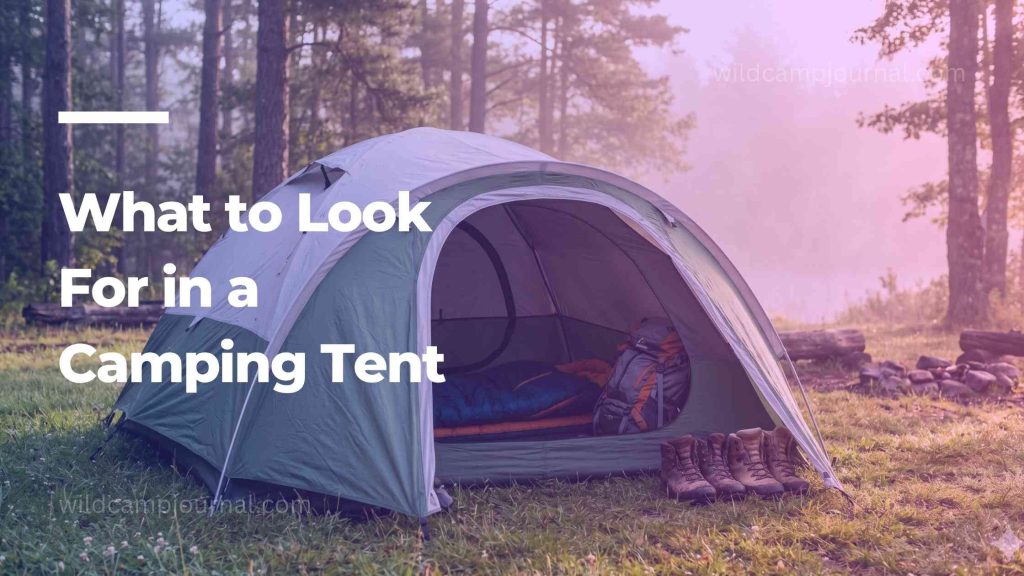
1. Tents — Your Home Away From Home
A tent is the single most important piece of camping gear you will buy. It protects you from wind, rain, insects, and cold, and it defines how comfortable your sleeping environment will be for the entire trip.
What to Look For in a Camping Tent
Capacity rating — As we covered in our hub article on camping gear mistakes, tent capacity ratings are based on maximum occupancy with no gear. A 4-person tent comfortably sleeps 2–3 adults with their equipment. Always size up by at least one person from your actual group size.
Season rating — Tents are sold as 2-season, 3-season, or 4-season:
- 2-season tents are for summer camping in dry, mild conditions only. They prioritise ventilation over weather protection.
- 3-season tents handle spring, summer, and autumn conditions including moderate rain and wind. This is the right choice for most campers.
- 4-season tents are built for winter and alpine conditions — heavier, more expensive, and overkill for general camping.
Freestanding vs non-freestanding — Freestanding tents hold their shape without stakes and can be moved once pitched, which is convenient on hard or rocky ground. Non-freestanding designs (common in ultralight tents) require careful staking to stand up but save significant weight.
Vestibule space — The vestibule is the covered porch area outside the inner tent door. A good vestibule lets you store muddy boots, wet gear, and backpacks outside the sleeping area without leaving them exposed to rain. For multi-night trips, a tent with at least one vestibule is strongly recommended.
Weight — For car camping, weight is not a concern. For backpacking, tent weight matters enormously. Backpacking tents are generally categorised as standard (1.5–2.5kg), lightweight (1–1.5kg), and ultralight (under 1kg). Ultralight tents cost significantly more and often sacrifice liveable space.
Recommended Tents by Camping Style
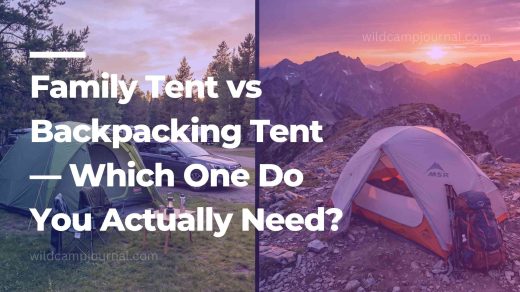
For car camping families, a 6-person dome tent with two rooms, a gear vestibule, and a peak height that allows standing is the most practical choice. For backpacking couples, a 3-person 3-season tent in the 1.5–2kg range offers the best balance of weight, space, and durability.
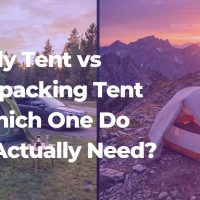
👉 Read our full guide: Best Tents for Wide Camping 👉 Also read: Family Tent vs Backpacking Tent — Which Do You Need?
2. Tarps and Alternative Shelters
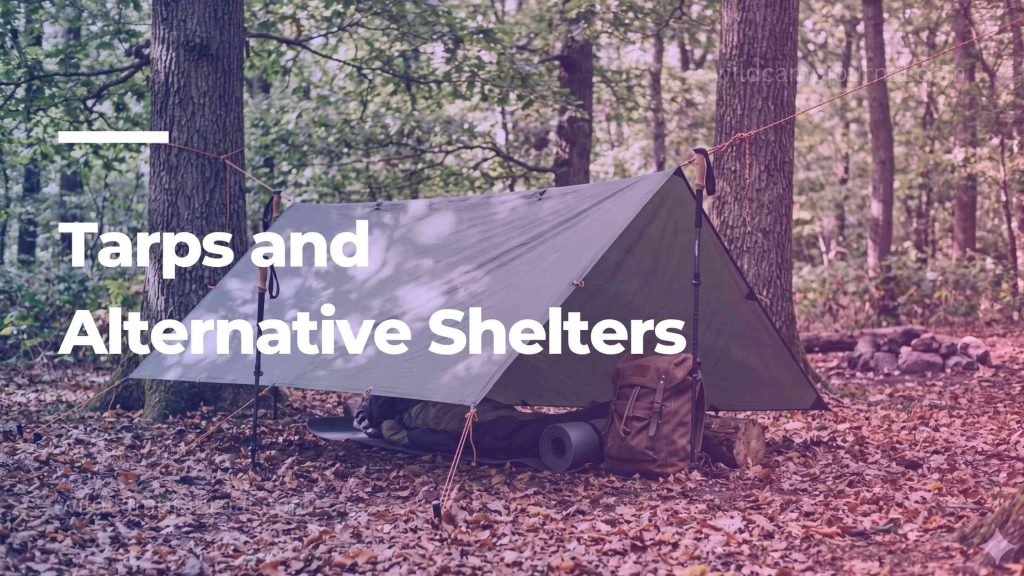
Not every camping setup needs a traditional tent. Tarps, bivy sacks, and hammock shelters each serve specific purposes and suit specific campers.
Tarps
A camping tarp is a lightweight waterproof sheet rigged between trees or trekking poles to create an open-sided or partially enclosed shelter. Tarps are popular with ultralight backpackers and bushcraft campers because they are significantly lighter than tents, cost less, and can be configured in dozens of ways to suit different terrain and weather conditions.
The trade-offs are real, however. Tarps offer no floor, no insect protection, and require more skill to pitch well. In heavy rain or strong wind, a poorly pitched tarp will fail where a tent would hold. For beginners, a tarp is a secondary shelter skill to develop — not a first shelter to rely on.
👉 Read our full guide: How to Set Up a Tarp Shelter
Bivy Sacks
A bivy (short for bivouac) sack is a waterproof outer shell that fits over your sleeping bag. It is the most minimal shelter system available — essentially a waterproof cocoon. Bivies are used by mountaineers, ultralight hikers, and anyone who needs to carry the absolute minimum weight.
Modern bivy sacks use breathable waterproof fabrics like Gore-Tex to manage condensation, which was the fatal flaw of older designs. A good bivy sack adds meaningful weather protection to any sleeping bag without adding significant bulk or weight.
👉 Read our full guide: Bivy Sacks Explained — Are They Worth It?
3. Sleeping Bags — The Core of Your Sleep System
Your sleeping bag determines whether you sleep well or lie awake shivering. It is the most technically complex piece of gear in a camping kit, and it is where more beginners make more expensive mistakes than anywhere else.
Understanding Temperature Ratings
Every sleeping bag sold in Europe and most markets worldwide should carry a temperature rating tested to the EN 13537 or ISO 23537 standard. These ratings produce three numbers:
- Comfort rating: The temperature at which an average adult woman will sleep comfortably through the night.
- Lower limit: The temperature at which an average adult man will sleep without waking.
- Extreme rating: The temperature at which the bag provides survival-level warmth only — not comfortable sleep.
Bags are commonly marketed by their lower limit. If a bag is advertised as a “5°C sleeping bag,” that means an average man will survive but not sleep well at 5°C. Always buy to the comfort rating, and build in a 5°C buffer below the coldest expected night temperature.
Prefer to watch? REI’s gear team explains sleeping bag ratings and insulation types in under 7 minutes.
Down vs Synthetic Insulation

Down insulation compresses smaller, weighs less, and lasts longer than synthetic when cared for properly. The warmth-to-weight ratio of high-quality down (750+ fill power) is unmatched. The significant weakness of down is that it loses nearly all its insulating value when wet and takes a long time to dry.
Synthetic insulation retains a meaningful percentage of its warmth when wet and dries far faster than down. It is heavier and bulkier for the same warmth rating, but for camping in wet climates or for campers who don’t want to manage the care requirements of down, synthetic is the more practical choice.
Recommendation: For dry climates and backpacking where weight matters, invest in a down bag with a minimum 650 fill power. For UK and Northern European camping where rain and humidity are regular, a synthetic bag or a down bag with a water-resistant treatment (hydrophobic down) is the safer choice.
Sleeping Bag Shapes
Mummy bags are tapered from shoulders to feet, with a fitted hood. They are the warmest and lightest design because they minimise dead air space. The trade-off is that some people find them claustrophobic.
Semi-rectangular bags offer more room to move while retaining reasonable warmth. They are heavier and bulkier than mummy bags but more comfortable for people who shift position during sleep.
Rectangular bags are the roomiest and least efficient. They are best suited for mild-weather car camping only.
👉 Read our full guide: Best Sleeping Bags by Temperature Rating
4. Sleeping Pads — The Most Underrated Piece of Gear
Ask any experienced camper what the single most overlooked piece of kit is and the answer is almost always the sleeping pad. Beginners focus on tents and sleeping bags and treat the pad as optional. It is not optional.
The ground conducts heat away from your body far faster than cold air does. The portion of your sleeping bag underneath you compresses completely under your body weight and loses its insulating value entirely. Without a sleeping pad, no sleeping bag — regardless of its temperature rating — will keep you warm on a cold or even mild night.
Types of Sleeping Pad
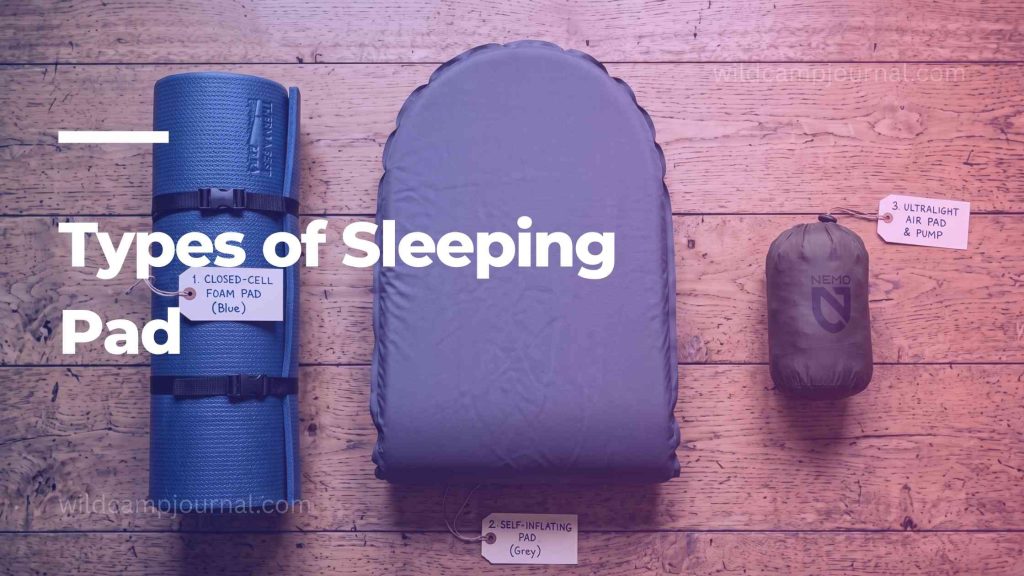
Closed-cell foam pads are the simplest, most durable, and most affordable option. They roll or fold flat, cannot puncture, and provide reliable insulation. The R-value (insulation rating) of foam pads is typically 2–3, which covers three-season camping. The trade-off is bulk — foam pads are larger to carry than inflatable alternatives.
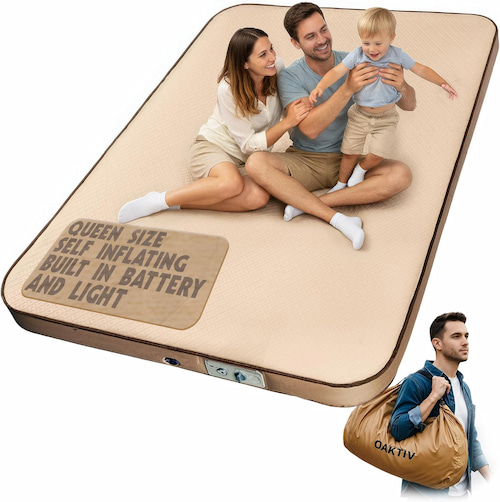
Self-inflating pads combine an open-cell foam core with an airtight shell. They partially inflate on their own when the valve is opened and can be topped up by mouth. They offer more cushioning than foam pads and pack smaller, with R-values typically ranging from 2–5 depending on thickness.
Air pads are fully inflatable with no foam core. They pack the smallest of any pad type and can achieve high R-values through internal baffling or reflective insulation technology. They are the most comfortable option but also the most expensive and the most vulnerable to puncture.
Understanding R-Value
R-value measures a pad’s resistance to heat flow. The higher the R-value, the better the insulation:
- R-value 1–2: Summer camping only
- R-value 2–4: Three-season camping (spring, summer, autumn)
- R-value 4+: Winter camping or cold ground conditions
Pads can be stacked to combine R-values. A foam pad (R-2) under an air pad (R-3) gives a combined R-value of 5 — adequate for winter conditions.
👉 Read our full guide: Sleeping Pad Comparison — Foam vs Self-Inflating vs Air
5. Hammock Camping
Hammock camping has grown significantly in popularity over the past decade and for good reason. A quality camping hammock weighs less than most tents, sets up faster, and — on a warm dry night — is one of the most comfortable ways to sleep outdoors.
When Hammock Camping Works Well
Hammock camping requires trees. Specifically, it requires two healthy trees at the right distance apart (typically 3.5–5 metres) with trunks wide enough to anchor straps safely without damaging the bark. In forests and woodland environments this is straightforward. In open terrain, above the treeline, or in desert environments, hammock camping is not viable without carrying a stand.
For three-season camping in wooded areas, a hammock with an integrated rain fly and an underquilt (insulation that hangs beneath the hammock to replace the sleeping pad function) is a genuinely excellent shelter system. For beginners camping at established campsites, a hammock is a comfortable and low-cost entry point.
What You Need for Hammock Camping
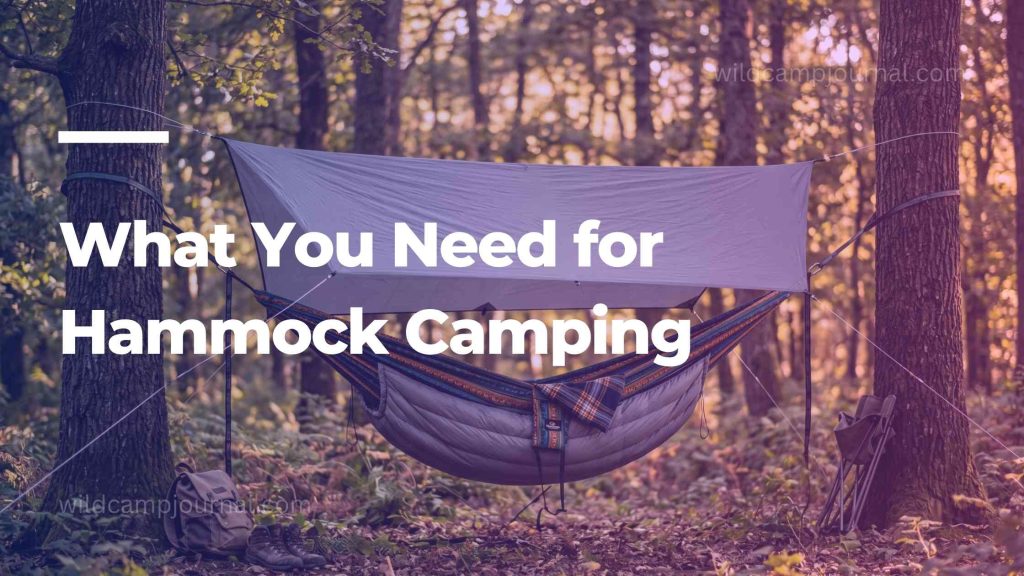
A complete hammock sleep system consists of:
- The hammock itself
- Tree straps (wide, flat straps that protect bark — required at most organised campsites)
- A rain tarp or integrated fly
- An underquilt or sleeping pad for insulation from below
- A sleeping bag or top quilt for insulation from above
New to hammock camping? This beginner setup video shows exactly how to rig a rain fly and underbuilt from scratch.
👉 Read our full guide: Hammock Camping for Beginners
6. Tent Care and Maintenance
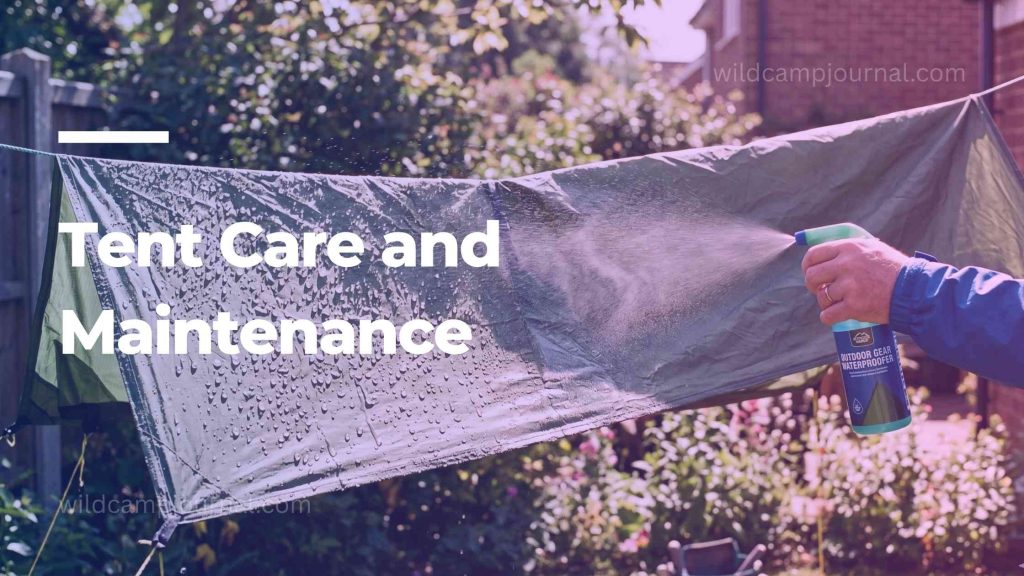
A quality tent represents a significant investment. With proper care, a well-made tent lasts 10–15 years. Without it, the waterproof coating degrades, seams fail, and zips corrode within a few seasons.
Essential Tent Care Habits
Never pack a wet tent. If your tent is wet when you break camp, pack it anyway — but unpack and dry it completely as soon as you get home. Storing a damp tent leads to mildew, which destroys the fabric and the waterproof coating permanently.
Re-seam seal after purchase. Most tent manufacturers apply seam sealer at the factory, but coverage is often incomplete. Applying a seam sealer like McNett Seam Grip to all interior seams before the first use is cheap insurance against leaks.
Reproof the flysheet annually. The durable water repellent (DWR) coating on a tent flysheet degrades over time and with washing. When water stops beading on the fly and starts soaking in, it is time to reproof with a spray-on or wash-in DWR treatment.
Store loosely. Long-term storage in a compression stuff sack breaks down the polyurethane waterproof coating faster than anything else. Store your tent loosely in a large cotton or mesh bag in a cool, dry place.
👉 Read our full guide: Tent Care & Waterproofing Tips
7. Camp Shade Solutions
Shelter isn’t only about keeping rain out. On hot days, particularly in open terrain, managing sun exposure is as important as managing rain. A good shade setup at camp makes midday rest genuinely comfortable and reduces sun-related fatigue and dehydration.
Options for Camp Shade

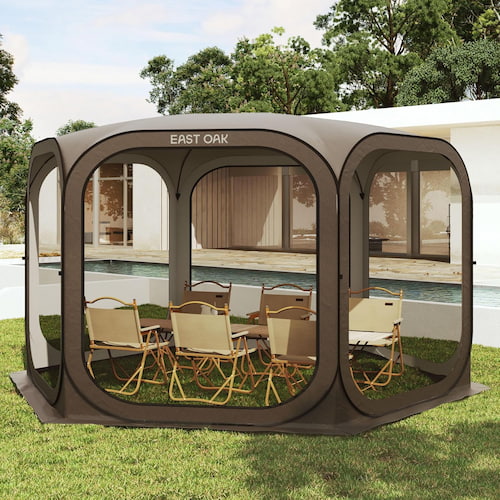
Canopy tents and gazebos are the most popular shade solution for car camping. A 3x3m or 4x4m pop-up canopy provides enough shade for a table, camp chairs, and a cooking area. Look for canopies with UV protection ratings (UPF 50+) and reinforced frame joints if you are camping in coastal or exposed locations where wind is a factor.
Shade sails are a lighter and more packable alternative to canopy tents. They require anchor points (trees, vehicle roof racks, or trekking poles) and take more effort to rig than a pop-up canopy, but they pack flat and weigh almost nothing.
Tarp shelters configured as sun shades rather than rain shelters are a versatile and ultralight solution for backpacking or minimalist camping.
👉 Read our full guide: Canopy & Camp Shade Solutions
8. Wind and Rain Tent Setup
Owning a quality tent is half the equation. Knowing how to pitch it correctly in adverse conditions is the other half — and it is a skill most campers only develop after one very uncomfortable night.
Key Principles for Bad-Weather Pitching
Orientation matters. The smallest profile of your tent — usually the narrow end — should face into the prevailing wind. This reduces the surface area the wind pushes against and prevents the tent from acting like a sail.
Always use all guylines. Guylines are the additional tie-out cords on a tent that most campers ignore in fair weather. In wind and rain they are the difference between a tent that stays pitched and one that collapses at 2am. Peg out every guyline your tent has.
Choose your pitch location carefully. Avoid low-lying ground that collects water runoff. Look for natural windbreaks — hedges, walls, tree lines — that reduce exposure without blocking airflow entirely. Never pitch under a tree that has dead branches overhead.
Stake before you sleep. Every peg should be fully driven into the ground at a 45-degree angle away from the tent, with the guyline running at the same angle. Stakes driven straight down pull out under load. Stakes driven at an angle resist extraction.
👉 Read our full guide: Wind & Rain Tent Setup — How to Stay Dry in Any Conditions
Shelter & Sleep Gear — Quick Comparison Table
Our Pick
 3-Season Dome Tent
$40-$150
|
Our Pick
 Backpacking Tent
$500–$1000
|
Our Pick
 Tarp Shelter
$700–$2000
|
|
|---|---|---|---|
| Brand | Amazon Basic | Hilleberg | GJZDPMY |
| Capacity | 3-4 Person | 2-3 Person | Heavy Duty |
| Form Factor | Dome Shape | Dome Shape | Tarpaulin Cover |
| Assembly | Free Standing | Free Standing | Free Standing |
| Weather | Waterproof | Waterproof | Waterproof |
| Storage | Compact carry bag | Compact carry bag | Reinforced Design |
| Image | Product | Features | Price |
|
Our Pick
1
 |
Bivy Sack |
NOVAMEDIC |
|
|
Our Pick
2
 |
Down Sleeping Bag |
ATEPA |
|
|
Our Pick
3
 |
Synthetic Sleeping Bag |
Western Mountaineering |
| Image | Product | Features | Price |
|
Our Pick
1
 |
Foam sleeping pad |
HEST |
|
|
Our Pick
2
 |
Self-inflating Pad |
Oaktiv |
|
|
Our Pick
3
 |
Camping Hammock |
Haven |
|
|
Our Pick
4
 |
Pop-up Canopy |
EAST OAK |
|
|
Our Pick
5
 |
Air Pad |
FSSSAZZ |
| Gear Type | Best For | Price Range | Key Consideration |
|---|---|---|---|
| 3-season dome tent | Most campers, all conditions | £80–£400 | Size up from group count |
| Backpacking tent | Weight-conscious hikers | £150–£600 | Weight vs liveable space |
| Tarp shelter | Ultralight / bushcraft | £30–£150 | Requires pitching skill |
| Bivy sack | Minimalist / emergency | £40–£250 | Breathability critical |
| Down sleeping bag | Dry climates, backpacking | £100–£500 | Loses warmth when wet |
| Synthetic sleeping bag | Wet climates, beginners | £60–£300 | Heavier but wet-safe |
| Foam sleeping pad | Budget, durability | £15–£40 | Bulky but indestructible |
| Self-inflating pad | Balance of comfort/weight | £40–£150 | Mid-range all-rounder |
| Air pad | Comfort, backpacking | £80–£350 | Puncture risk |
| Camping hammock | Wooded sites, warm weather | £30–£200 | Needs trees, add underquilt |
| Pop-up canopy | Car camping shade | £50–£300 | Check wind resistance rating |
Frequently Asked Questions
What is the most important piece of shelter and sleep gear for a beginner?
The tent is the most important starting point, but the sleeping pad is the most commonly overlooked. Many beginners invest in a quality sleeping bag and skip the pad entirely — which results in a cold night regardless of how good the bag is. Buy all three: tent, sleeping bag, and sleeping pad, before your first trip.
How much should I spend on a first camping tent?
For car camping, a reliable 3-season tent from a reputable brand costs between £80 and £200. Avoid unbranded tents under £50 — the waterproof ratings are almost always overstated and the pole systems are fragile. For backpacking, budget at least £150 for a tent that will handle real weather.
Can I use a summer sleeping bag year-round?
No. A summer bag (comfort rating above 10°C) is adequate for July and August camping in the UK and similar climates but will leave you cold in spring and autumn when overnight temperatures regularly drop to 5–8°C. A 3-season bag with a comfort rating of 0–5°C covers the majority of year-round camping outside of winter.
Do I need a sleeping pad if I’m car camping on a flat surface?
Yes. Even on a warm night, ground cold conducts through the floor of your tent and chills you from below. A sleeping pad is not just about comfort — it is about insulation. Even a basic foam pad makes a significant difference.
What is the difference between a 3-season and a 4-season tent?
A 3-season tent is designed for spring, summer, and autumn conditions — it handles rain and moderate wind but is not built for snow loads or extreme cold. A 4-season tent uses stronger poles, less mesh, and heavier fabric to withstand winter conditions. For most campers, a quality 3-season tent is the right choice.
Is hammock camping suitable for beginners?
Yes, with some caveats. A hammock is one of the easiest shelters to set up and one of the most comfortable for warm-weather camping. The learning curve comes with rigging the rain tarp correctly and understanding insulation from below. Start with a hammock that includes an integrated fly and add an under-quilt once you are comfortable with the system.
How do I know when to replace my sleeping bag?
When a sleeping bag loses its loft — meaning the insulation no longer springs back to full thickness after being compressed — it has lost a significant portion of its insulating capacity. Down bags can be restored partially by washing and drying with tennis balls. Synthetic bags degrade faster and cannot be restored. If the bag feels noticeably thinner than when new, it is time to replace it.
Conclusion
Your shelter and sleep system is the foundation every good camping trip is built on. Get it right and the rest of your gear decisions become much easier — because you will arrive at each morning rested, dry, and warm enough to actually enjoy whatever comes next.
Start with a correctly sized 3-season tent, a sleeping bag rated to the conditions you will actually camp in, and a sleeping pad with an appropriate R-value. Everything else in this pillar — hammocks, tarps, bivies, canopies — builds on that foundation once you have the basics dialled in.
Use the sub-topic guides above to go deeper on any area that applies to your specific setup. And if you are still building your overall gear knowledge, head back to our main camping gear mistakes guide for the broader picture.